
In the last issue we outlined the rationale behind updating the family boat (see PBC 32-4). In this issue we tackle solving the environmental issues: an old engine, the inability to get parts to fix it perhaps, the concern of unburned hydrocarbons filling the air, and the inevitable rainbow of a gas/oil mix in the water around your dock and swimming area.
To many of us who grew up in the age of the two-stroke engine, the smell of summer was synonymous with an outboard’s blue smoke emissions. Our project boat, a 1998 Seaswirl 208 19’ bowrider had the original white Evinrude V4 115hp 2-stoke outboard on it, with very low hours. It started well and ran great. However, nobody wanted to waterski behind it (except me), and my wife and kids sat up the bow “to get away from the smell,” they said very openly. The boat was rated for a 200hp and up to 8 passengers, and the 115hp with three-blade aluminum prop struggled to get up onto plane with more than four people in the boat. We are a family of five. It was time to upgrade.

So I got out all the specs sheets and performance bulletins from all the engine manufacturers and started comparing options. I wanted a four-stroke outboard that would be cleaner burning, more fuel efficient at all speeds, and more powerful for family boat rides, as well as the waterskiing and wakeboarding that are an integral part of a Canadian summer. My wife didn’t care about any of the technical specs, she wanted one thing: “something that didn’t smell.” When you go to choose an outboard for your upgrade, be sure to consider how close the local dealer is for both service (winterizing) and parts (when you find the bottom). So we headed down to the Toronto Boat Show last January where all the 150hp outboards were conveniently in one place.
I considered things easily found on a spec sheet like weight and fuel economy data. I also considered things only gleaned from real life experience, like the engine harmonics at various speeds. I had my own short list of my preferences having personally run every 150hp outboard on the market at least once, some many times over. However, this is not a decision you make alone (at least, not if you want the family’s buy in, or to stay happily married.) We looked in general at all the outboards, then in detail at those on my short list, then got into specifics with the company representatives at each booth. Performance (fuel economy, hot shot time), harmonics (how the engine noise sounds) and aesthetics (how it looks on the boat as part of the overall package) were important to both of us.

In the end, we chose the Suzuki DF150 in cool white with a 25” shaft. The in-line four cylinder powerhead offered 2,867cm³ (174.9 cu.in.) of displacement – 75% more than the old outboard, and plenty to get us up on plane with everyone aboard (and me up water skiing!) The marina on our lake is inconvenient to get to, so often we’re bringing fuel in via Jerry-cans. So the Suzuki Lean-Burn Technology that continually optimizes the fuel-to-air mixture throughout the operating range to maximize performance and fuel economy was an attractive benefit. The offset driveshaft that moves the powerhead forward over the transom, helped with the increase in weight compared to the old two-stroke. An easy winterization procedure was also a big consideration for me.
The next step was to get it installed. So we were off to the largest Suzuki dealer in Canada – Marsh’s Marine in Waubaushene, Ontario. I met with Mike, and his head mechanic Tim, and set a day aside to do the work.
Step 1 – Remove the Old Outboard.
 The first step was to remove the old outboard from the boat, including all the wiring harness, throttle cables, remote oil reservoir, key switch and gauges. We detached all the wires at the outboard – carefully labelling each. The old engine is in great shape, so it will be resold and thus recycled. We also had to remove the old steering system. The whole process took about an hour and a half and involved removing the starboard side panel and performing some interesting body contortions to reach and cut the cable ties. Then we undid the four mounting bolts and lifted the old outboard off with an overhead crane. This is why you want to do this at a dealer, not in your backyard. Losing your grip on an outboard that weighs over 300 pounds can result in serious injury to someone. We cleaned the old sealant off the transom and inspected the bolts to ensure there was no rot inside the transom.
Step 2 – Install New Wiring
The next step was to install the new gauges, new key and kill switch, new throttle and cables, and the new wiring harness to connect it all to the new Suzuki DF150. I hate working over my head, but it was bearable with a nice padded lifejacket on the floor to cushion my back, and a pair of safety glasses on to prevent the inevitable: stuff falling into my eyes. (Tip: keep your mouth closed.) We installed the new Suzuki analog black-on-white back-lit gauges that fit perfectly into the old holes in the helm. We had to enlarge the key switch hole slightly with a jig saw, but the throttle fit in to the side panel with no modifications required. We laid the new wiring harness into place, feeding it forward from the stern so that any excess wiring could be neatly coiled up in a tight loop out of the way under the helm. Take your time doing this. Think about what the wiring harness needs to go over, or under, so that when it is tucked up and cable-tied into its final position you don’t regret something. Route the throttle cables so they have large sweeping bends in them for easy movement. I deferred to Tim, to connect all the wires up correctly under the helm. The last thing you want to do with a brand new engine is cross a wire and short circuit something.


With the wiring in place, we turned our attention to the new SeaStar hydraulic steering system. We installed the new helm steering control (which the old steering wheel fit onto perfectly), and the remote oil fill line, laid the two hydraulic lines down the starboard side and left the ends in the motor well beside the wiring harness and throttle cable ends. At this point you should do a test run pretending to cable tie everything up into place – just to be sure you don’t want (or need) to reroute something. If you do install the cable ties, leave them loose to adjust the tightness of the wires later. (We left them loose to allow us to run new speaker wire cable for the new Fusion stereo system we’ll install later.)
Step 3 – Install the New Outboard
 The Suzuki DF150 weights over 420 pounds, so again we used the overhead crane to lift it out of the shipping crate and onto the transom. The first step was to install the new steering ram for the SeaStar hydraulic steering. The transom plate fit the old bolt pattern so we didn’t have to fill the transom and drill new mounting holes. Before applying any sealant to the transom, Tim “dry-fit” the Suzuki DF150 to determine the correct mounting height. With the trim set to neutral, the cavitation plate should sit dead level with the bottom of the hull. In our case, that meant lifting the mounting plate up about an inch off the top of the transom. We then applied silicone sealant generously to the inside of the bolt holes and the outside of the transom. You need two people to do the next step. Position the outboard against the transom, insert the bolt from the outside, apply a bead of silicone around each bolt on the inside of the transom and thread on the washer and locknuts. Tighten all 4 bolts and wipe up any excess silicone. Then you can release the overhead crane.
The next step is to connect the throttle cables, wiring harness, and the fuel line to the outboard. Again, I deferred to Tim on this while I poured twelve litres of oil into the engine. The Suzuki DF150 is easy to fill with oil – and easy to drain – something to consider when you’re buying if you plan to do any routine maintenance yourself.
Next Tim connected the hydraulic steering cables to the ram, and filled the system from the oil-fill at the helm. Take your time to do this to get all the air bubbles out so there is no play in the system. You may have to revisit this after a first run, like we did.
The final step was to install a fuel filter/water separator so as to protect the engine from any possible water that we may introduce into the system from the jerry-cans or marina fillups. Remember to always use ethanol-free fuel in any marine engine.
Step 4 – On Water Testing
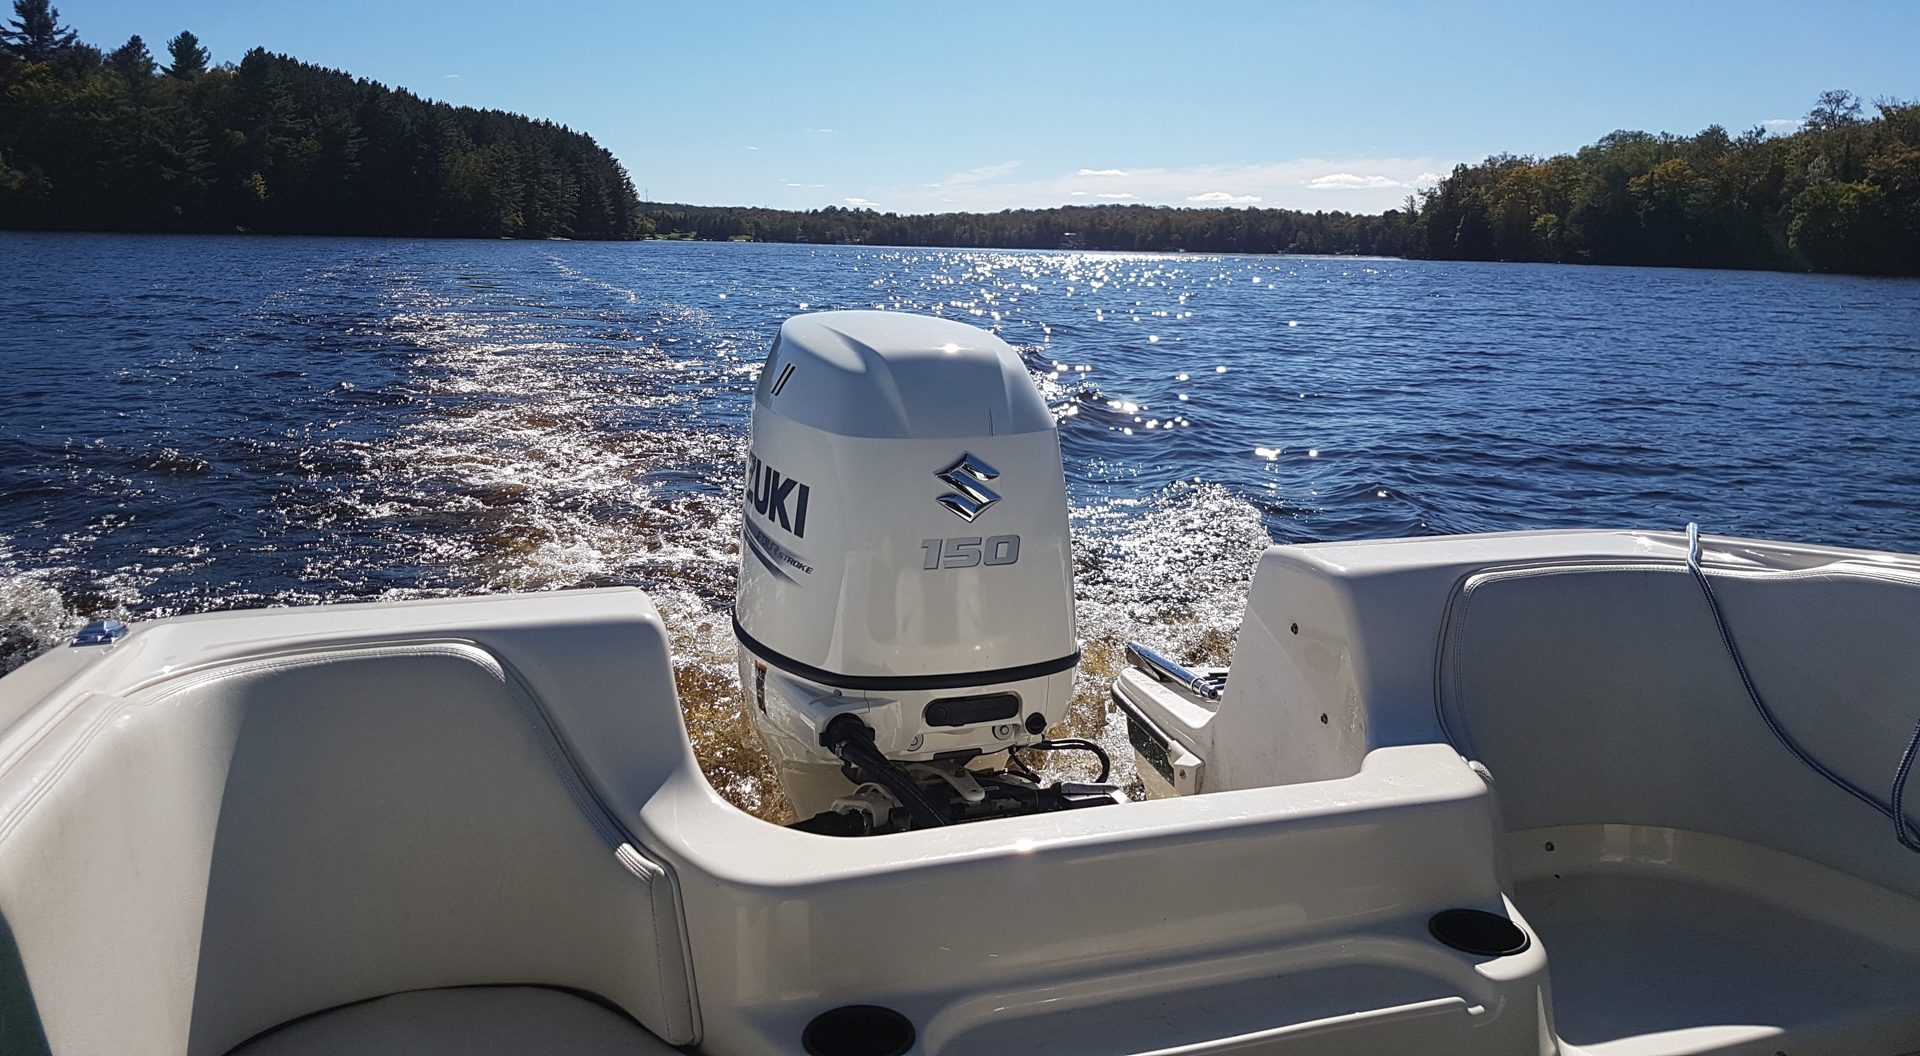
I was excited to do the first run. After months of research and a full day of work switching outboards, we backed the boat down the launch ramp at Marsh’s Marina and tied it to the dock. The inline four-cylinder design sat a few inches taller off the transom than did the old V4 outboard, but wasn’t obstructive to my view over the stern. I was concerned about the increased weight of the new engine, but that turned out to be basically unfounded as I measured only a 1” difference in the resting height of the bow off the water compared to the old outboard.

The Suzuki DF150 cranked a few times and fired, settling into a steady hum in just a few seconds. At idle, the water tell-tail jet made more noise than the engine did. With the digital fuel flow gauge hooked up, we cruised out of Waubaushene down the channel into Georgian Bay. In gear, at 1100 rpm, the movement of the water at the transom made more noise than the engine did. I was impressed. But it was about to get even better.
After I spent a few minutes learning how the hull responded to the new outboard – to the new raw power that wasn’t there with the old engine – I was ready to get some specs. I recorded a time to plane of 2.1 seconds! Fully trimmed out with 2 adults on board and half tank of gas, I recorded a top speed of 49 mph – verified on GPS. In the sidebar are all the impressive specs from our first run. We’ll share more data and experiences with the new outboard in future columns after we’ve had some real life experience with it.
In the next installment in this mini how-to series, in our annual Show Issue, we’ll choose and show you how to install a tow tower as we continue to update the family bowrider.
Keyword : best boat, Best boat buying website, best boat marina website, best boat travel website, best place to rent a boat, boat accessories, boat angler, boat boondocking, boat buyers guide, boat camper, boat camping, boat dealers, boat DIY, boat Fishing, boat Fixer, boat Home, boat information, boat insurance, Boat Maintenance, boat marinas, boat marinas in Alberta, boat marinas in BC, boat marinas in Canada, boat marinas in Manitoba, boat marinas in Saskatchewan, boat marinas in the USA, boat marinas near me, boat products, boat rentals, boat repair, boat road test, boat sharing, boat sites near me, boat supplies, boat Tech, boat tips, boat touring, boat trade, boat Travel, boat traveling, boat travelling, boat vacation, boat vacation cost, boat websites Canada, Boating, boating Canada, Boating Canada’s Boat Lifestyle Magazine, Boating Lifestyle Magazine, boating website, Bowrider, Canadian marina websites, DF150, DIY, Do it Yourself, evinrude, expert boat information, find a boat dealer, how much does a boat cost, how much does marina cost, how to choose a boat, how to drive a boat, marina products, marina supplies, motor boat, power boating magazine, Suzuki, top boat website, used boat reviews best boat, Best boat buying website, best boat marina website, best boat travel website, best place to rent a boat, boat accessories, boat angler, boat boondocking, boat buyers guide, boat camper, boat camping, boat dealers, boat DIY, boat Fishing, boat Fixer, boat Home, boat information, boat insurance, Boat Maintenance, boat marinas, boat marinas in Alberta, boat marinas in BC, boat marinas in Canada, boat marinas in Manitoba, boat marinas in Saskatchewan, boat marinas in the USA, boat marinas near me, boat products, boat rentals, boat repair, boat road test, boat sharing, boat sites near me, boat supplies, boat Tech, boat tips, boat touring, boat trade, boat Travel, boat traveling, boat travelling, boat vacation, boat vacation cost, boat websites Canada, Boating, boating Canada, Boating Canada’s Boat Lifestyle Magazine, Boating Lifestyle Magazine, boating website, Bowrider, Canadian marina websites, DF150, DIY, Do it Yourself, evinrude, expert boat information, find a boat dealer, how much does a boat cost, how much does marina cost, how to choose a boat, how to drive a boat, marina products, marina supplies, motor boat, power boating magazine, Suzuki, top boat website, used boat reviews