
Learn the proper approach to save time and be safe on a fibreglass repair.
Whether you own a cruiser or a high-powered, high-performance boat, one thing is for sure: if it’s fibreglass, it needs upkeep and occasional fibreglass repair. Repairing damaged fibreglass, however, is not a task that everyone can or wants to do. It’s very labour-intensive and sometimes best left to a professional.
If you cannot do it yourself, picking a qualified repair shop is one of the most important factors in the process. Your chosen repair shop should be equipped and lit well, clean, and able to offer personnel who can explain necessary repairs. Consider also price quotes. If a price sounds too good to be true, it is probably just that. The individual pricing the job may not be fully qualified in estimating or unable to eventually stand by their quote. If extensive work must be done, get a written quote as well as references.
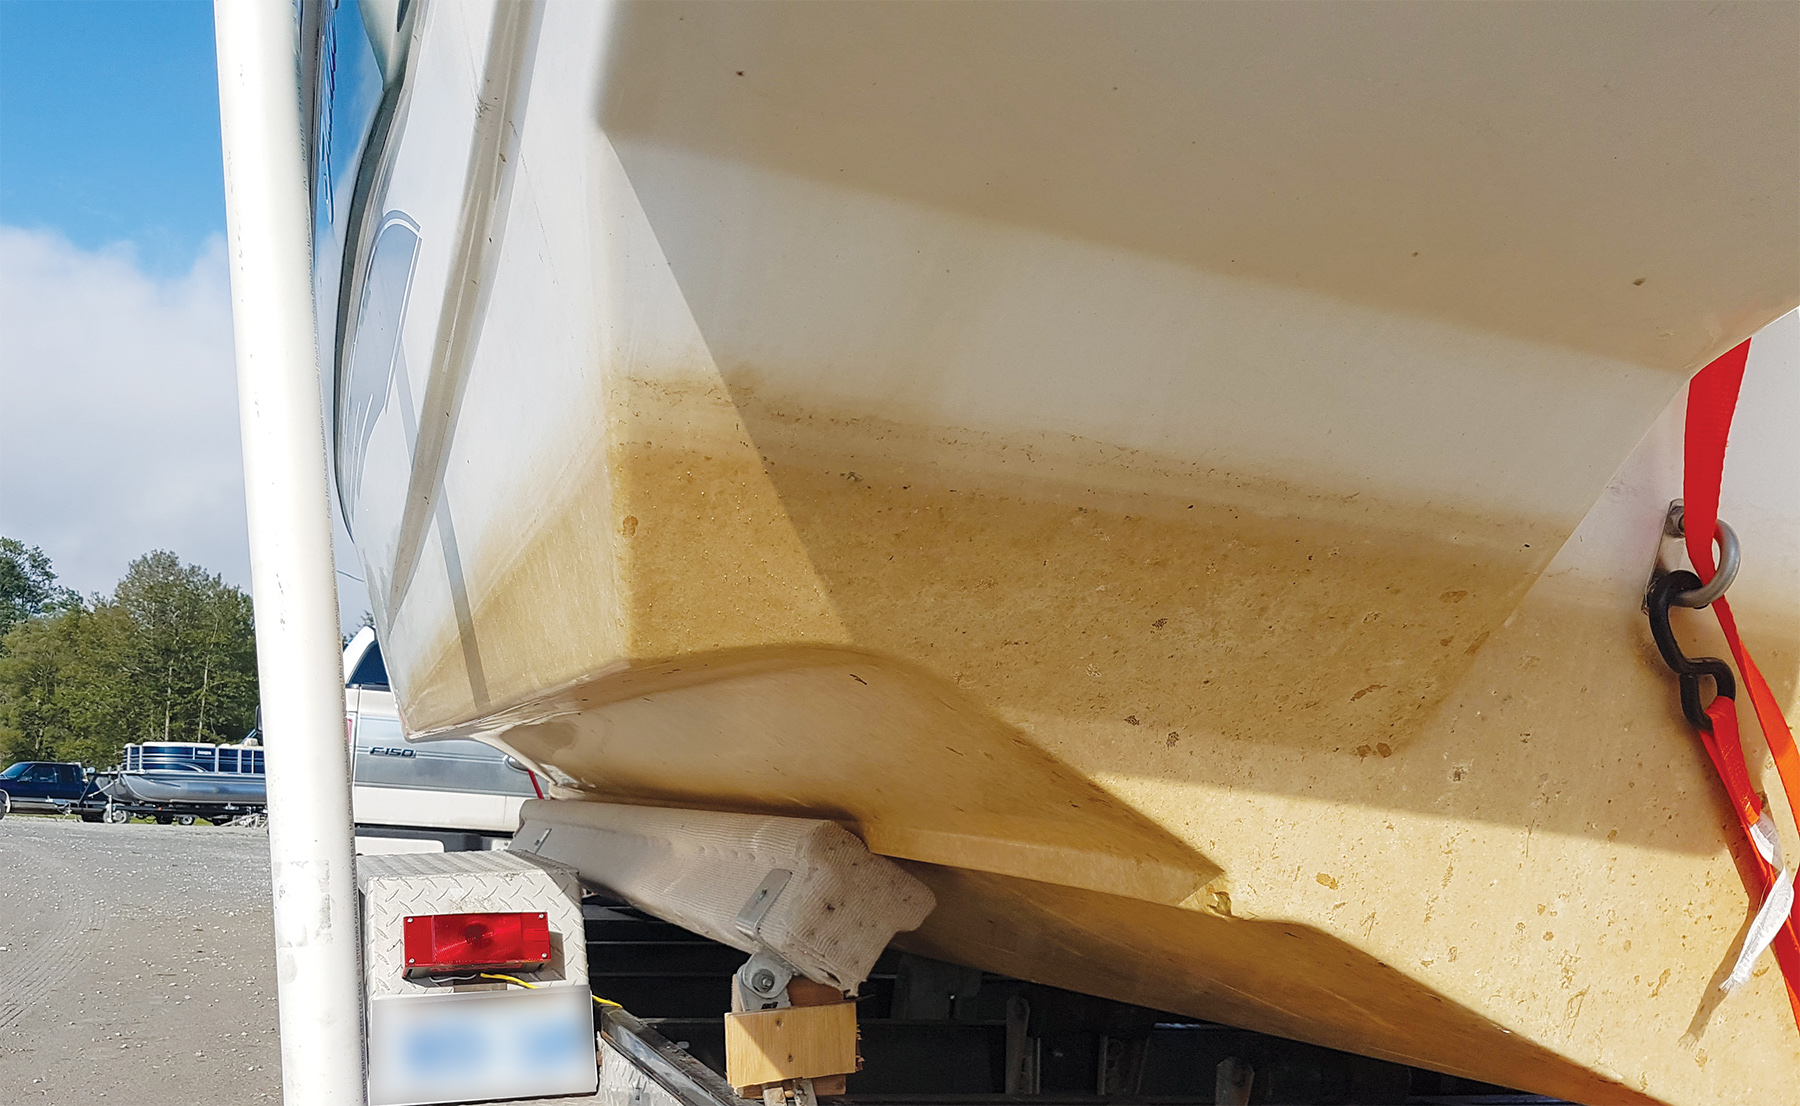
For those of you who do wish to tackle gelcoat and fibreglass repair, read on. If you had the misfortune this summer to hit an underwater object, you should first inspect your hull – out of water – for any damage. You can then determine the extent of damage once problem areas are pinpointed.
If, for example, your impact was significantly hard, you can expect to need both gelcoat and fibreglass. Some damage will be obvious but, most often, there will be hidden problems such as delamination. One way to detect delamination is to tap the hull with a rubber mallet. The deteriorating area will have a distinctive sound; undamaged areas will sound solid.
The best – and, sometimes, only – way to determine the amount of necessary repair is by grinding away the area. Once you remove the gelcoat, damaged fibreglass will appear white. This material must be removed and then prepared for fibreglass repair. How much material do you remove? A quick rule of thumb: follow the “3-to-1” factor. If the damaged area is one inch wide and three inches long, you will want to grind away an area three inches wide and nine inches long. Such measurements may vary if the area has sustained a very hard impact and the surrounding fibreglass has become compressed or has stress cracks in it.
Now that you have determined the damage’s extent, you must consider the existing structure’s moisture content. After all, water will stop resin from curing. Most reputable repair shops use a moisture meter which indicates the presence of water and degree of saturation. You can also check for moisture by tapping a piece of clear plastic over the area and then allowing it to sit overnight. If the plastic shows moisture, you will know the area is still wet; you will be unable to proceed with repairs. If necessary, accelerate drying with fans or heaters.
Once the area is completely dry, you will be ready to begin fibreglassing. Start by using thin strips down the centre of the area being repaired, and add progressively wider layers of cloth. Be sure to allow for adequate overlap. Your amount of necessary glass will depend on the repair’s extent. Next, roll out the fibreglass to remove all air bubbles. Keep in mind that the area will still need to be topcoated with 15 to 18 millilitres of gelcoat – your glass should be slightly lower than your finished surface. When the glass work is done and the fibreglass cured, sand the entire area and topcoat it with colour-matched gel. Finally, wet sand and polish the surface; you’ll have completed an invisible repair.
Note one other point. If you decide on this process yourself, get as much professional advice as possible, wear protective clothing – including gloves and goggles –, and keep plenty of water or eyewash on-hand in case you splash resin or chemicals in your eyes. Keep in mind that all the chemicals you are using produce highly volatile gases, so lung protection and very good ventilation are musts. Do not smoke or have open flames around your workstation. You must treat the materials you are using with respect.
Hull sides and decks will need occasional repairs, but such repairs do not usually require as much work as hull repairs below the waterline. Small chips, meanwhile, can be easily repaired by properly preparing the surface, colour-matching gel, wet sanding, and polishing.
You can normally repair stress cracks by following the “3-to-1” method. In many cases, topside stress cracks will be confined to the gelcoat only because gelcoat and fibreglass have different flexing capabilities. General care and appreciation of fibreglass’ limitations will greatly reduce stress cracks.
You can save a great deal of money through proper fibreglass repair and maintenance. You can also maintain your craft’s resale value, keep your boat in top condition for next season, and enjoy more experiences out on the water.
Keyword : boat, boat magazine, boat repair, Boating, choosing a hitch, class 2 trailer hitch, class 3 trailer hitch, equalizing hitch, expert RV advice, Fibreglass, fifth wheel trailer tips, figerglass, Hitch Hints, hitching a trailer, How to fix your RV, how to hitch an RV, How to tow an RV, repairing fiberglass, repairing fibreglass, repairing fibreglass on my boat, RV advice, RV DIY, RV Guru, RV hints, RV hitch types, RV Lifestyle, RV Lifestyle Magazine, RV tech, RV tech Talk, RV tips, RV touring, towing a trailer, towing tips, trailer towing tips, travel trailer tips, weight distributing hitch, what RV is best boat, boat magazine, boat repair, Boating, choosing a hitch, class 2 trailer hitch, class 3 trailer hitch, equalizing hitch, expert RV advice, Fibreglass, fifth wheel trailer tips, figerglass, Hitch Hints, hitching a trailer, How to fix your RV, how to hitch an RV, How to tow an RV, repairing fiberglass, repairing fibreglass, repairing fibreglass on my boat, RV advice, RV DIY, RV Guru, RV hints, RV hitch types, RV Lifestyle, RV Lifestyle Magazine, RV tech, RV tech Talk, RV tips, RV touring, towing a trailer, towing tips, trailer towing tips, travel trailer tips, weight distributing hitch, what RV is best